Warbling Shores Styxia: Solving Janus’ Maze Puzzles in Honkai: Star Rail’s Newest Update


Popular Now
 Warframe
 Stumble Guys
 God of War Ragnarök
 Sonic the Hedgehog™ Classic
 Toca Boca World
 PUBG Mobile
 Rust
Rust
 Genshin Impact
 Valorant
 The highly anticipated version 3.5 update of Honkai: Star Rail has introduced players to a brand-new area, Amphoreus, and within it lies the captivating and often perplexing region of Warbling Shores Styxia. One of the most engaging and challenging new activities in this area is Janus’ Maze, a series of nine intricate puzzles that require a blend of careful timing, physics manipulation, and strategic rotation to solve. This guide will provide a complete, step-by-step walkthrough for each of the nine Janus’ Maze puzzles, helping you navigate the labyrinthine challenges, unlock the precious rewards, and uncover the mysteries of the “Sanctum of Prophecy.”
Understanding Janus’ Maze
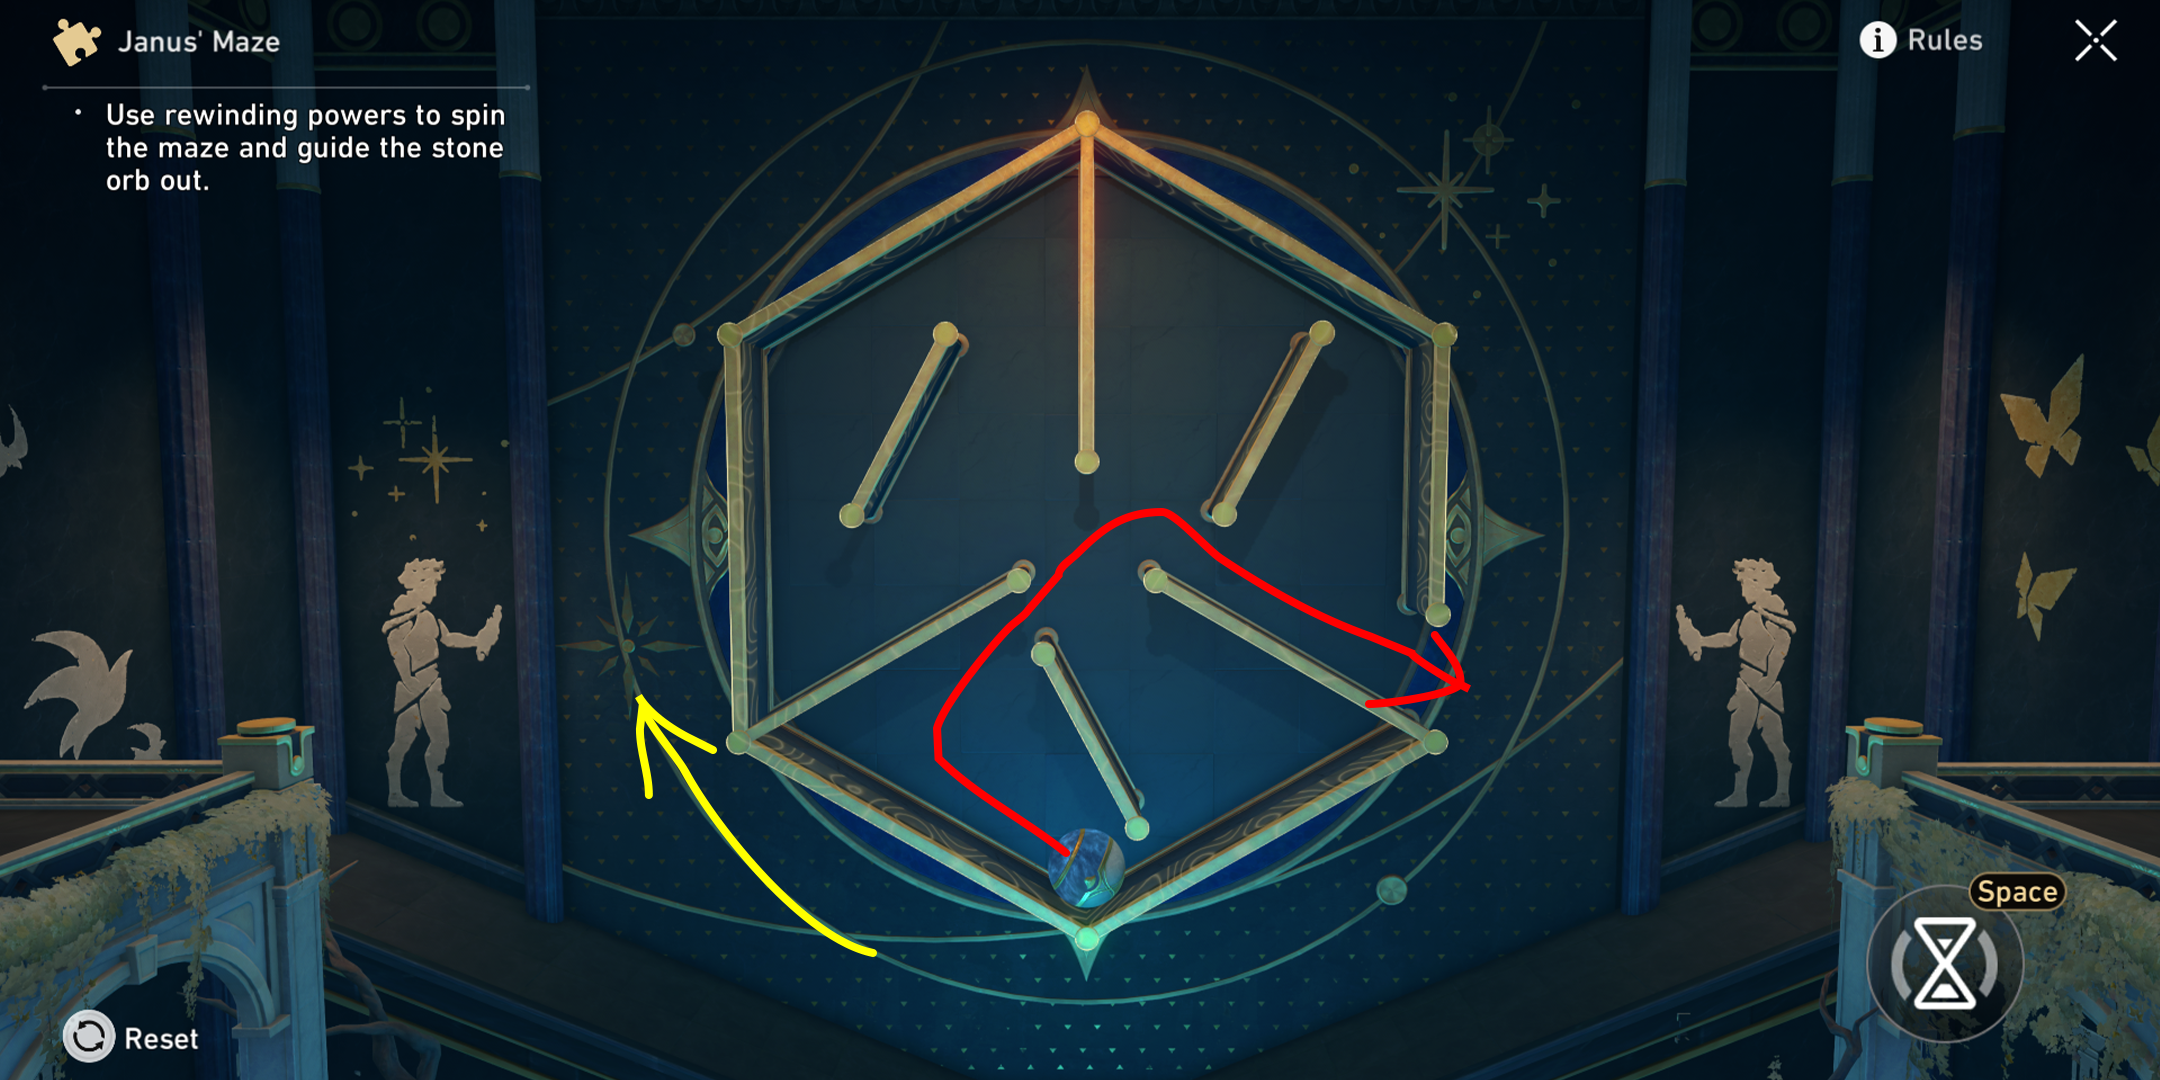
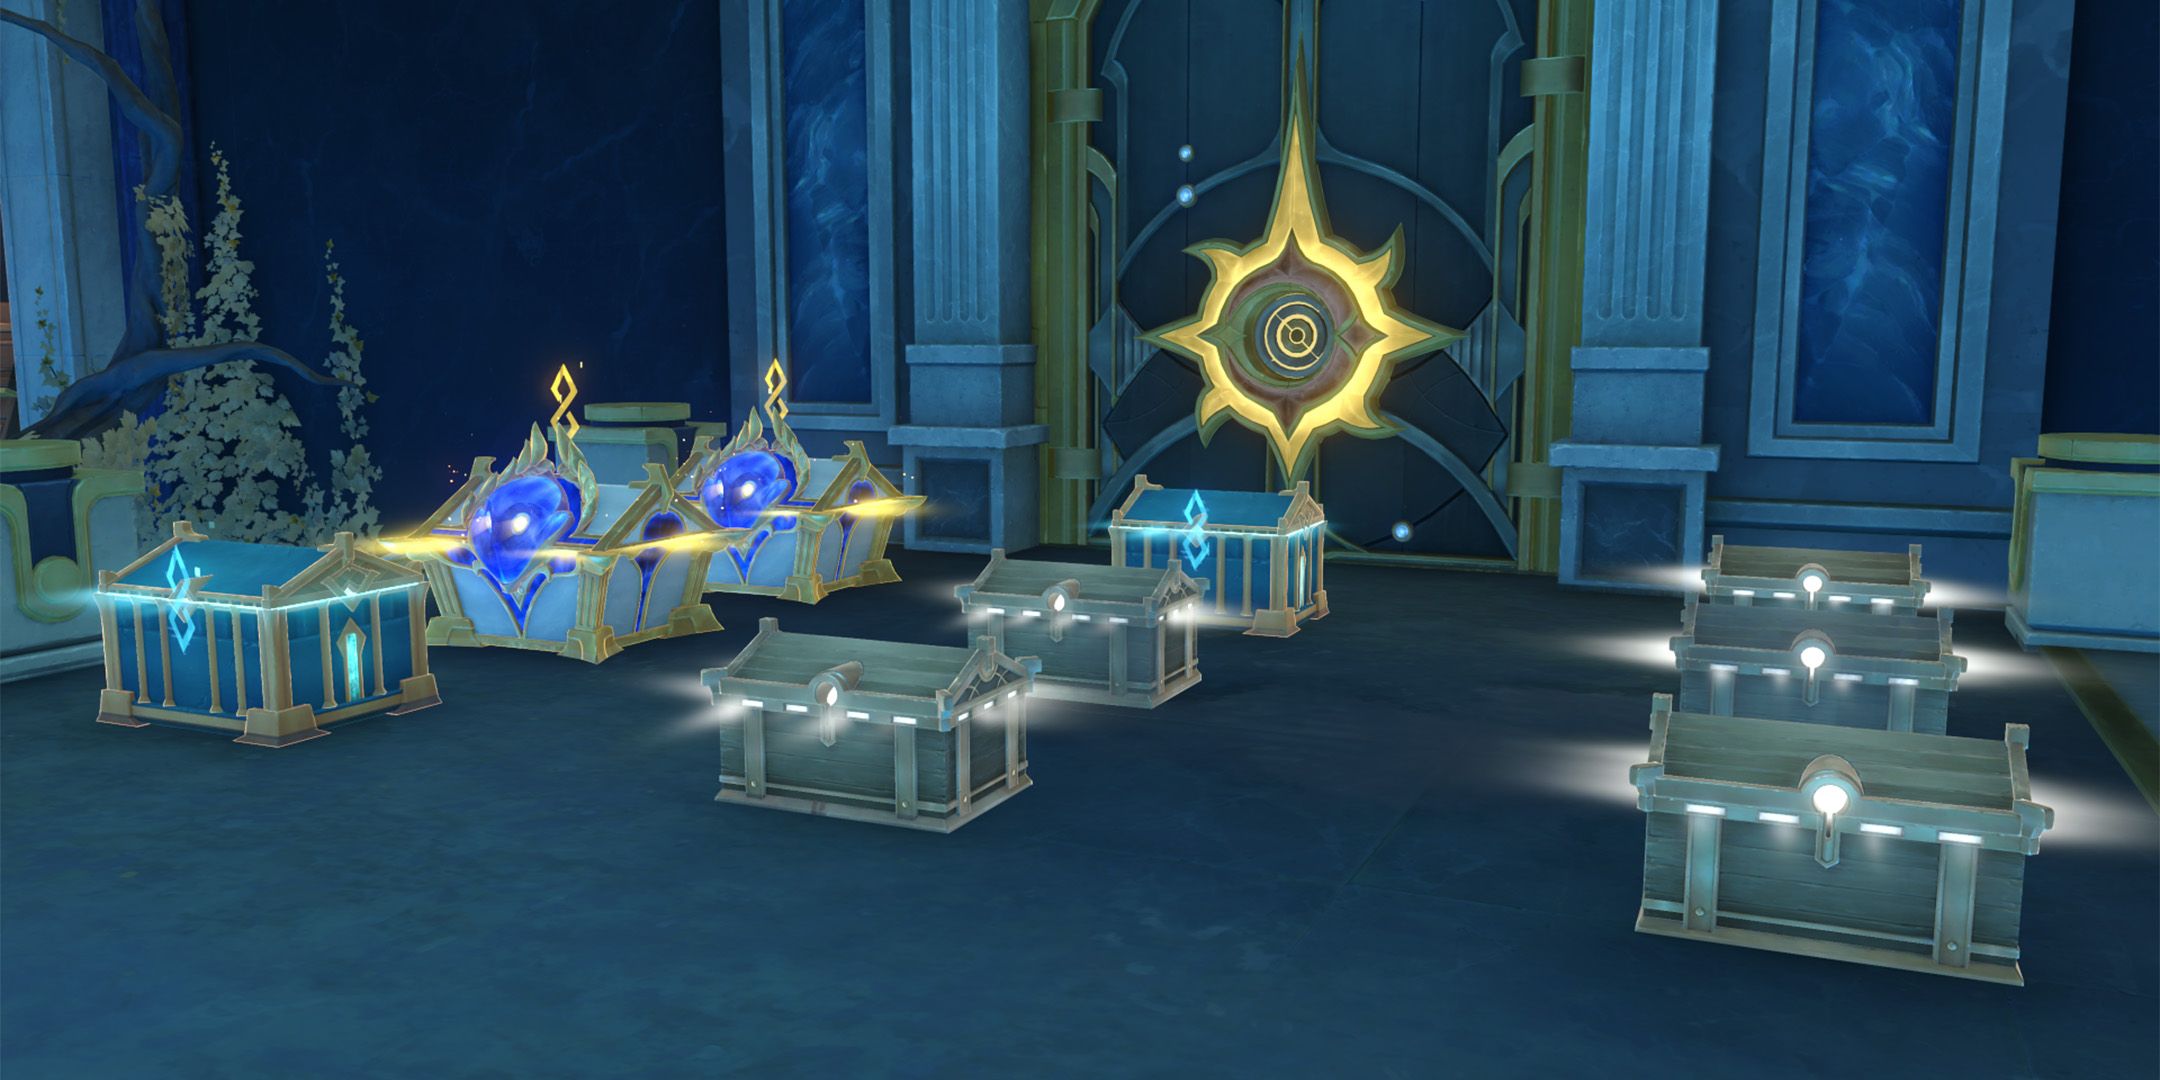
Before diving into the solutions, it’s essential to understand the core mechanics of Janus’ Maze. You are presented with a circular, three-dimensional maze that you can rotate on a horizontal axis. Your goal is to guide a small ball through the maze to a designated exit point. The puzzles become progressively more difficult, introducing obstacles, moving parts, and even requiring you to use the ball’s momentum to “trickle” it over barriers. There is no in-game hint system, so a methodical approach is key. You’ll need to pay close attention to the position of the ball and the rotation of the maze to succeed. Each puzzle rewards you with a treasure chest, making the effort well worth it for the valuable resources and Stellar Jade.
Puzzle 1: The Inaugural Challenge
The first puzzle is designed to introduce you to the core mechanics. It’s the simplest of the set and can be completed by following a simple principle. Start by rotating the maze to get the ball rolling. The key to solving this one is to maintain a continuous, smooth rotation. Keep turning the maze and the ball will build momentum, allowing it to navigate the short path and exit the maze on its own. The ball’s inertia will carry it past any minor obstacles, making this a great warm-up for what’s to come.
 Puzzle 2: The Momentum Trick
This puzzle is a slight step up in difficulty, requiring a bit more finesse. Begin by rotating the maze to get the ball moving along the path. Continue to turn it until the ball is near the last corner, just before the exit. The trick here is to abruptly stop rotating the maze. The sudden halt will cause the ball to be launched forward by its momentum, forcing it to slide outside the maze and land in the exit slot. This is the first time you’ll need to master the art of using physics to your advantage.
Puzzle 3: The Delicate Trickle
The third puzzle introduces a narrow pathway just before the exit, and you must be very precise. Start by rotating the maze and guiding the ball along its path. As you approach the final section, you’ll need to slow down your rotation considerably. Right before the exit, you’ll have to be extremely delicate, “trickling” the ball over the small gap and into the next block. A sudden rotation will cause the ball to fly off course. This puzzle is a test of your patience and fine motor control.
Puzzle 4: The Tilted Balance
Puzzle number four adds another layer of complexity. You will have to guide the ball over a small barrier at the beginning of the maze. To do this, start slowly and let the ball gently roll over the barrier. Once it is on the other side, stop rotating the maze. The ball’s momentum will again be your friend, as it will continue its journey and exit the maze on its own. The key is to avoid over-rotating at the start, which would cause the ball to overshoot the barrier.
Puzzle 5: The Moving Blockers
This puzzle introduces the first major obstacle: a set of moving blockers that will try to prevent the ball from reaching the exit. This challenge is all about timing. You need to rotate the maze and guide the ball to the entrance of the obstacle’s path, but you must time your move to coincide with the blockers’ rotation. Once the path is clear, quickly move the ball through the opening. If timed correctly, you can complete this puzzle in a matter of seconds. If you fail, the ball will be blocked, and you’ll have to restart.
Puzzle 6: Guiding to the Other Side
Puzzle number six is a test of long-distance guidance. Rotate the maze and guide the ball along its path, which winds across the entire maze. The objective is to get the ball to the other end. As you approach the final exit, you will need to “trickle” the ball over the edge, similar to the method used in Puzzle 3. The path is longer, so maintaining a steady and controlled rotation is crucial. Avoid any sudden, jerky movements, and focus on a smooth, consistent motion.
Puzzle 7: The Middle Blocker
This puzzle utilizes a stationary central blocker to assist you. You must use the middle blocker to guide the ball toward the outside and into the exit. The trick is to rotate the maze so that the ball lands on the central blocker’s arm, which will then push the ball in the desired direction. This puzzle requires you to think about how the maze’s design can be used to your advantage, rather than just as an obstacle to be avoided. Timing your rotation to align with the blocker is the key to success.
Puzzle 8: The Double-Armed Area
Puzzle number eight is one of the trickier challenges in the set. You will have to slow down the maze’s rotation the moment the ball lands on a double-armed area. Once the ball is on this area, you must let it “trickle” over to the exit. This puzzle requires a very light touch and a keen eye. The moment the ball arrives at the double-armed section, reduce your rotation speed significantly to avoid flinging the ball off course. Patience is the primary virtue for this one.
Puzzle 9: The Final Hurdle
The final puzzle in Janus’ Maze is perhaps the most difficult, as it combines timing, precision, and an awareness of the moving parts. The key is the rotating blocker in the middle. You need to keep a close watch on its rotation. The moment the middle blocker aligns with the path to the exit, you must “trickle” the ball over to the other side. You can also use the rotating blocker to guide the ball to the outside, similar to Puzzle 7. It may take a few tries to get the timing just right, but once you do, you will have successfully completed all nine puzzles and earned the “Oceanball Park” achievement.
 Conclusion: The Rewards of Patience and Precision
The Janus’ Maze puzzles in Warbling Shores Styxia are a testament to Honkai: Star Rail’s commitment to diverse and engaging gameplay. They offer a refreshing break from combat and exploration, challenging players in a completely new way. By mastering the art of rotation and momentum, you can conquer all nine puzzles, collect all the treasure chests, and complete this challenging mission. This guide should serve as your roadmap to success, helping you navigate the twists and turns of Janus’ Maze and emerge victorious. Now that you’ve secured all the chests and completed the quest, you can relax and enjoy the rest of the fantastic content in the 3.5 update.